Make a DIY porch sign to enjoy year round. This easy tutorial for a DIY welcome porch sign is so easy and budget friendly.

DIY Welcome porch sign
I just love a homemade welcome sign for my front porch. When we moved into our new house, I knew I wanted one, but I didn’t want to buy one at the store.
I didn’t think it would be too difficult and I knew it would also save money. The results? It turned out so pretty and I had a lot of fun making it.
We are lucky enough to be friends and neighbors with a wood worker who was happy to show us all how to make a homemade welcome sign. After you read this tutorial, I am sure you’ll have the confidence to make this yourself.
This makes such a great piece to any front porch. Plus, with these easy steps, anyone can make a welcome sign without any wood working experience needed.
Let’s make a DIY porch sign.
We have easy step by step instructions so that anyone can make this. You do not need any prior wood working experience to make this welcome sign.
I can’t wait to hear all about your DIY signs you make. As you will see, the ideas are endless to let your creativity shine in this project.
You might also want to organize with these Charging Station Ideas.

DIY porch sign supplies:
- (1) 4″ x 4″ piece of pine (about 1″ thick)
- (2) 6″ x 6″ pieces of pine
- (1) 8″ x 8″ piece of pine
- 4″ x 4″ treated fence post, cut to 36″
- Titebond Premium Wood Glue
- 1-1/2″ Galvanized Nails
- hook for sign

Tools needed:
How to make a porch sign:

Step 1: Glue a 6″ x 6″ piece of pine to one end of the fence post.
- Use your tape measure to make sure the piece of pine is centered top to bottom.
- Use 2 nails to secure in place. Repeat on the other end of the fence post.

Step 2: Pick an end of your fence to be the bottom.
- Glue the 8″ x 8″ piece of pine to the 6″ x 6″ piece of pine. Use the tape measure to make sure its centered and then secure with 4 nails.
- Be mindful of where you placed your 2 nails in the 6″ x 6″ piece of wood.
- For the top of your fence post, glue the 4″ x 4″ piece of wood to the 6″ x 6″ piece, making sure its centered.
- Press firmly and allow the glue to dry. No nails are used in this piece as you don’t want nail heads showing in the top of your finished project.

Step 3: Paint this your desired color.
- Make sure the paint is dry. Then, add a hook of your choice about 6″ from the top of the finished post.
- If you are a really handy person (or know one), you can router the pieces of pine before assembly. When putting everything together, make sure all of the routered pieces of wood are facing the top of the post.
Note: We used black paint but you can use any color you prefer.

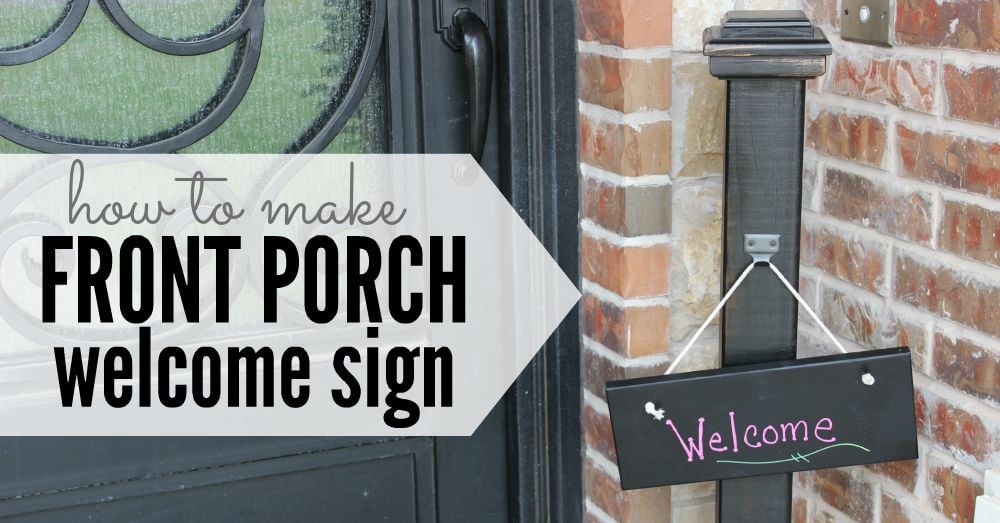
Step 4: Make the sign to hang.
- Use a piece of pine that was about 6″ x 12″. I painted it with chalk board paint, drilled a couple of holes in the corners and added some twine as a hanger.
Tips:
- You can use anything you prefer as a hanger. I just had twine on hand and it turned out great. Anything sturdy enough to hold the sign securely will work just fine.
- Use whatever type of paint color you prefer. We used black but any color you like will work great. Just use outdoor paint if your porch is not covered and will be exposed to the elements.
- If the sign will be exposed to elements, I suggest using a coat of sealer. Also, the sign may need to be taken inside when it rains.

I love making rustic homemade welcome signs. It looks so nice on the front porch. I am really pleased with how it turned out.
If I can make this, I am sure that anyone can. I am not particular handy or savvy when it comes to DIY projects or wood working.
Ideas for DIY Welcome porch sign:
- It is so versatile because I can write anything I want on the sign. I love adding birthday and special holiday messages throughout the year.
- You can use different colors of chalk markers for the sign. I think it holds up longer than regular chalk but can still be easily removed when needed.
- Try adding a bow on the hook. You can coordinate this to your front door wreath, seasons and any occasion. It is so easy and inexpensive to use this for lots of themes or occasions.
- Another option for the sign is to use cut files for a silhouette or cricut machine and transfer tape. This is an option if you have one of these machines. Of course, using vinyl letters will make it difficult to change on a regular basis.
- You can also use stencils for your sign instead of chalk lettering.
- Make a vertical welcome sign. I think the horizontal sign is super cute. However, another pretty idea is to hang the sign vertically.
You might want to make two signs to change as you feel like it. I think it would be cute to make a vertical and horizontal sign.
- For a more rustic wood look, sand this project to give it a distressed look. You can sand it as much or as little as you like based on preference. This is an easy way to get the farmhouse look for less.
- This is optional but you could attach a small flower vase to the post. You can use a galvanized tin or a small mason jar. Then you can add flowers during the year for different occasions and seasons.
This welcome sing is so easy.
Make this homemade welcome sign for yourself and have fun decorating your front porch. The kids will enjoy helping to change the sign all year long.
Front porch signs and rustic welcome signs make the perfect porch décor. The wood sign adds a really cute touch. Not only will this wooden welcome sign look great but it will help to welcome your guests.
Once you get started with diy projects, it is so easy to make diy welcome signs for home decor. This sign definitely takes your front porch decor to the next level.
Let us know once you finish this easy DIY project. It will definitely look amazing on your porch. I think it would also make a great gift.
I have a feeling once your neighbors see this cute sign on your porch, they will want one too. It really is super easy and so pretty. I think my favorite part is being able to write different things on the sign all year long.

oh that would be cute with a wreath on it too! adding to my to-do craft wish list!
I love this!!!!