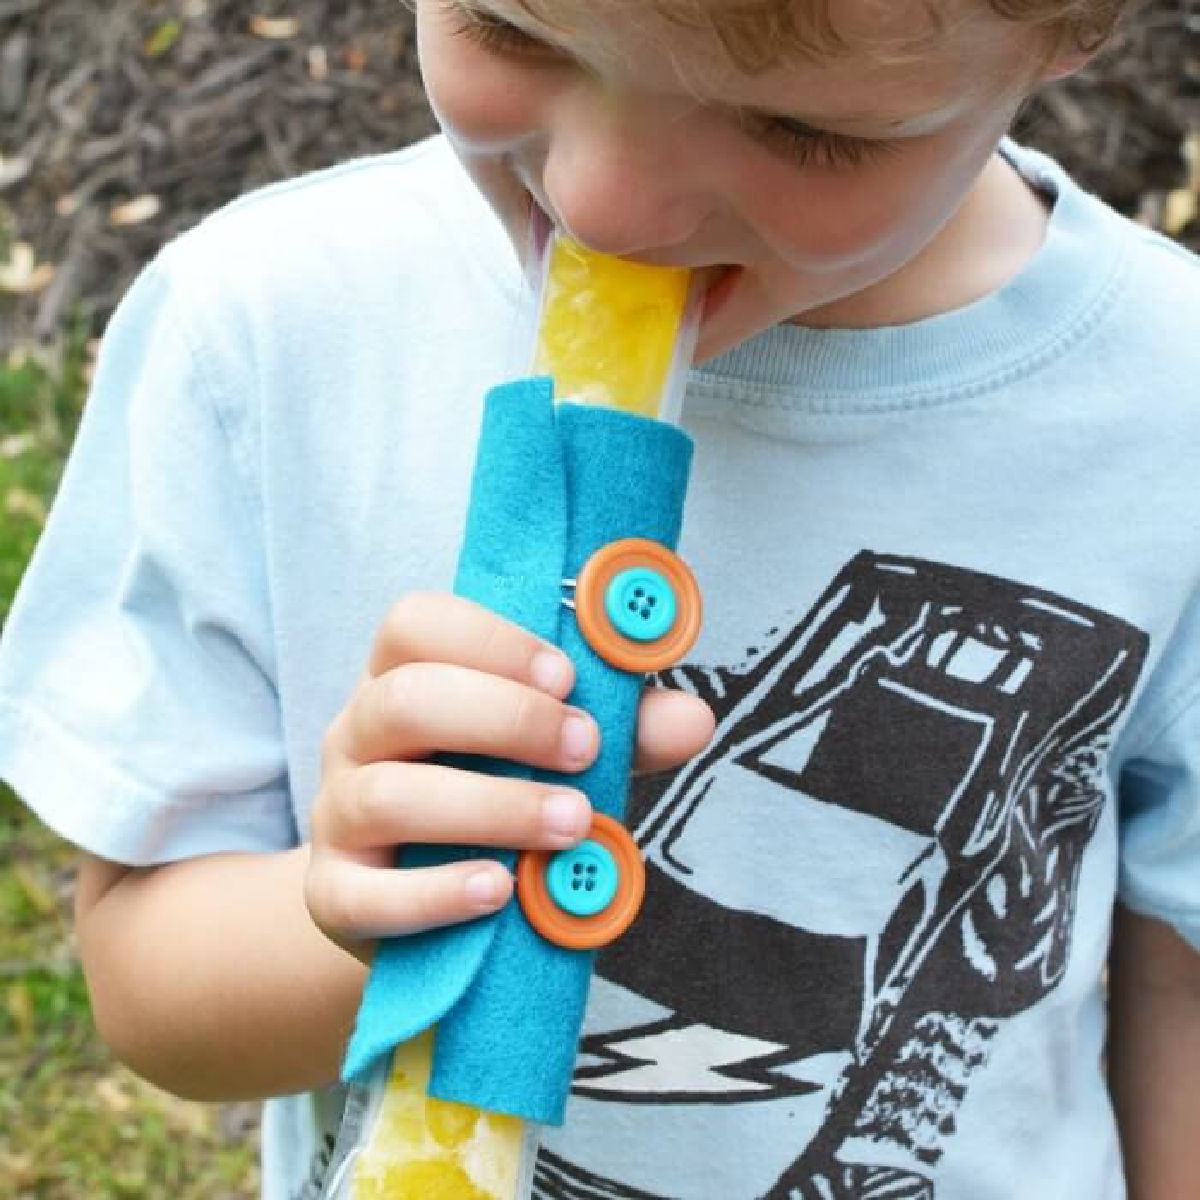
Your kids will love this fun DIY popsicle holder. It’s perfect for keeping little hands from getting cold while eating ice pops. This homemade popsicle sleeve is easy to make and will be a hit.

What is a popsicle holder?
These easy diy popsicle holders keep hands warm while eating freezer pops. Instead of wrapping a paper towel around frozen treats, use an ice pop holder.
We all love the lazy days of summer and what is better than a tasty popsicle! There is just something about a frozen treat on a hot Summer day. But little hands can get cold holding these popsicles.
Learn how to make a DIY Popsicle holder that will solve this problem! You can certainly buy these holders but they are much cheaper to just make.
It is a simple project with an easy sewing tutorial. You don’t need any special skills for this sewing project.

Let’s learn how to make a popsicle holder.
Once you get started, you will see just how simple the process is. These are such a hit that I made a couple extra to give to friends.
They loved them so much when they used them at our house. They also make a really fun end of school year gift.

You could hand out one DIY popsicle holder plus a popsicle out to each child. They can freeze it when they get home and have a cool Summer treat. Plus, they have the popsicle holder to use all Summer long!

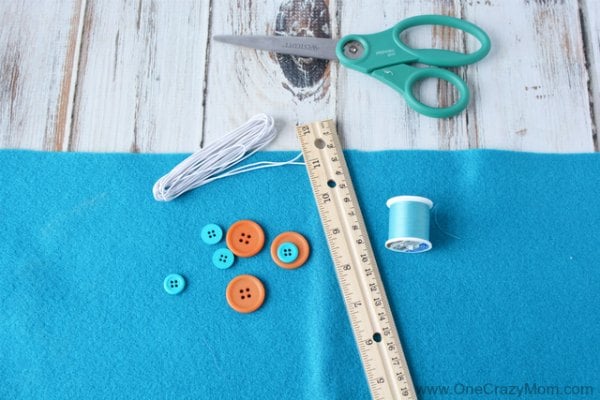
Supplies needed for Popsicle sleeve:

How do you make a Popsicle holder?
- Step 1. Use a pencil to measure a piece of felt 3″ x 5″ and cut it out with scissors.
- Step 2. Use a pencil to make two marks for buttons. This will be along the 5″ side. You’ll mark 1.5″ from the left and 0.75″ from the top.
Add a dot with a pencil. Repeat on the other side of the rectangle, measuring 1.5″ from the right side and 0.75″ from the top and lining up the edges.
- Step 3. Thread a needle and sew your buttons onto the felt at the marks. I sewed two buttons at once to add more of a decorative look. Flip felt over so the buttons are face down on a table.
- Step 4. Cut 2 pieces of elastic cord 3″ in length. Fold 1 piece in half and measure 1.5″ from the left side and let the two tails of the folded elastic extend 1″ beyond the top of the felt.
Pin to hold in place. Hand stitch the elastic to the felt and repeat on the opposite side. Finally, remove the pins. You can also use a sewing machine if you prefer.
- Step 5. Place the popsicle onto the felt and wrap it around, looping the button into the elastic to hold it in place.
Variations for Popsicle sleeves:
- Felt. It’s fun to let the kids choose their favorite colors and have their very own popsicle holder.
- Embellishments. Choose different color buttons.
How to make this DIY Popsicle Holder:
How to make a Popsicle Holder
Equipment
- Felt
- Elastic Cord
- Thread
- Needle
- 2-4 Buttons
- ruler
- Scissors
- Pencil
- Pin
Instructions
- Use a pencil to measure a piece of felt 3″ x 5″ and cut it out with scissors.
- Use a pencil to make two marks for buttons. This will be along the 5″ side. You’ll mark 1.5″ from the left and 0.75″ from the top. Add a dot with a pencil. Repeat on the other side of the rectangle, measuring 1.5″ from the right side and 0.75″ from the top.
- Thread a needle and sew your buttons onto the felt at the marks. I sewed two buttons at once to add more of a decorative look. Flip felt over so the buttons are face down on a table.
- Cut 2 pieces of elastic cord 3″ in length. Fold 1 piece in half and measure 1.5″ from the left side and let the two tails of the folded elastic extend 1″ beyond the top of the felt. Pin to hold in place. Hand stitch the elastic to the felt and repeat on the opposite side. Remove pins.
- Place the popsicle onto the felt and wrap it around, looping the button into the elastic to hold it in place.


