Handprint Flowers are perfect to make for Mother’s Day, birthdays and more. This special gift will be cherished for years to come by Mom, Grandma and others.

The kids will have so much fun making these handprint flowers. They also double as a really adorable gift for Mom or Grandma.
You know they will go crazy over these little flowers made from handprints! The picture in the middle is just the icing on the cake.
I think it would be so cute to make one for each child. Put them all together and give them as a “bouquet” for Mom. You could also place them inside a flower pot.
Add this Homemade Mom Award and Easy Paper Butterfly Craft for Kids and you are set. Gifts like this are the best and so cherished!
Table of contents
Why We Love This
Not only is this fun to make and give but it is a special keepsake. It will be so neat to look back over the years and see how small the children’s hands were.
It is so simple and you just need a few inexpensive supplies. Trace your child’s hand and they become flowers when put together.
You might also like to learn How to Make Puffy Paint.
Supplies

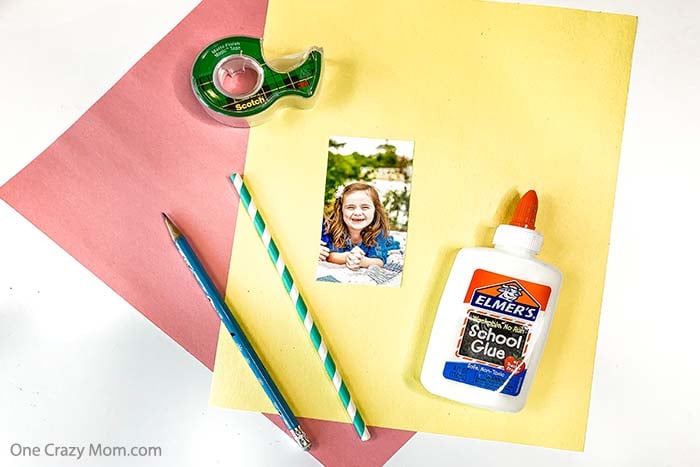
- Construction Paper – Color of your choice for the flower. We chose pink.
- Yellow Construction Paper
- Glue
- Tape
- Paper Straw
- Child’s Pictures
- Scissors
How to Make Handprint Flowers
- Step 1. Fold the construction paper that you are going to use for your flower 2 times to make a layer of 4 pieces of construction paper.

Step 2. Next, trace your child’s hand on top of the construction paper.

Step 3. Cut out the handprint to get 4 separate handprints.

Step 4. Align the handprint to form the flower and glue them together.

Step 5. Once glued, turn them over.

Step 6. Cut out a circle from the yellow construction paper. We used the bottom of a cup to trace ours and it was super easy, but you can use what you prefer.

Step 7. Cut out the child’s pictures into a circle. You want it to be slightly smaller than the yellow circle. Glue the photo on the yellow circle and then glue it onto the center of the handprint flower.

Step 8. Turn the flower over and tape the paper straw to the back of the flower to finish the flower.

Step 9. Now, it is ready to give as the most adorable gift!

More Ideas For Mother's Day
Mothers Day
13 FREE Mother’s Day Coloring Pages
Mothers Day
21 Mother’s Day Basket Ideas She will Love
Mothers Day
Best Mother’s Day Breakfast Ideas
Let us know how it turns out. Come back and leave a comment once you make this fun craft! We love to hear about projects you completed at home and any ideas you have.
Handprint Flowers
Equipment
- Construction Paper – Color of your choice for the flower. We chose pink.
- Yellow Construction Paper
- Glue
- Tape
- Paper Straw
- Child’s Pictures
- Scissors
Instructions
- First, Fold the construction paper that you are going to use for your flower 2 times to make a layer of 4 pieces of construction paper.
- Next, trace your child’s hand on top of the construction paper.
- Cut out the hand print to get 4 separate hand prints.
- Align the hand print to form the flower and glue them together. Then turn them over.
- Cut out a circle from the yellow construction paper. We used the bottom of a cup to trace ours and it was super easy but you can use what you prefer.
- Cut out the child’s pictures into a circle. You want it to be slightly smaller than the yellow circle.
- Glue the photo on the yellow circle and then glue it onto the center of the hand print flower. You can use a school photo, candid or anything you want.
- Turn the flower over and tape the paper straw to the back of the flower to finish the flower.


