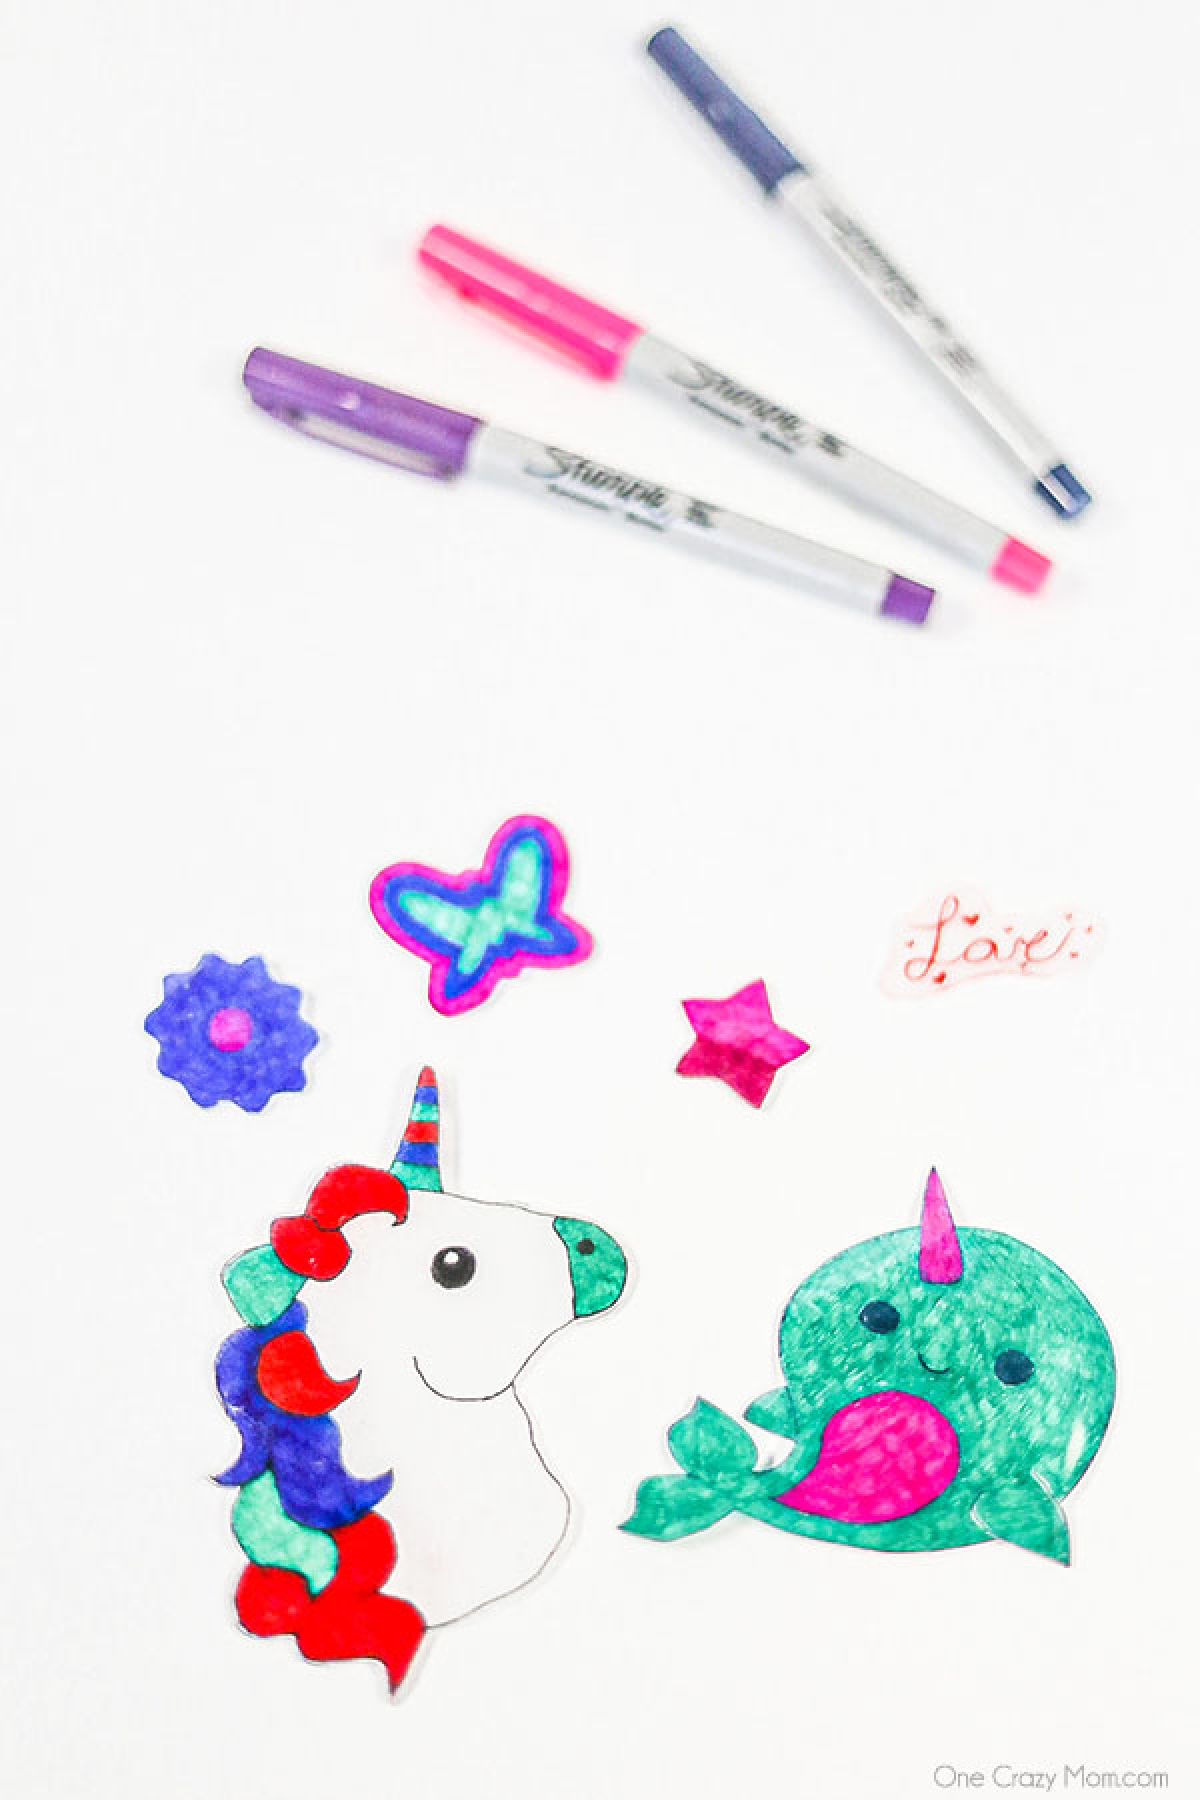
Once you learn How to Make Shrinky Dinks, it is so easy and fun. Get creative and make lots of fun designs with these DIY shrinky dinks.

We have been having a blast making all sorts of Shrinky dink items lately. You can find even more fun Shrinky dink ideas for more shrinky dink projects.
Once we got started, we quickly found out there are tons of fun ideas to try for the entire family. Use your imagination and get started because it is so much fun.
Table of contents
Why We Love This
Everyone will love learning how to make these. This is one of our favorite DIY activities and it is so easy and frugal.
If you are looking for something fun that is simple and inexpensive, try making shrinky dinks. It really is a great activity.
You don’t need to buy the Shrinky Dinks kits if you follow these easy instructions.

Supplies
- Shrinky Dink Material. You definitely want to order this paper. We have tried other materials, but the sheets definitely work the best.
- Sharpie Markers. We prefer sharpie brand, but you can use any type of permanent marker or colored pencils for decorating.
- Scissors. Make sure to have a good pair of scissors.
How to Make Shrinky Dinks

Step 1. Print out pictures to trace from your favorite sites or use cookie cutters to trace different designs. However, you can definitely create your own design as well. There are tons of free printable options online too.

Step 2. Then use sharpies to decorate your designs. We used fine tip and the regular markers for our design.

Step 3. Cut out the items. Then place on a baking tray with the side that is colored facing up so that the color does not transfer to the baking sheet. You can also line the pan with parchment paper or aluminum foil.

Step 4. Bake at 325 degrees fahrenheit in a conventional oven or toaster oven for 3-10 minutes. The time will vary based on the size of your designs. Larger pieces will take a longer time to shrink. The plastic will shrink to about ⅓ of their original size once they are finished.
Pro Tips
- We had a lot of issues with our shinky dinks curling on the edges when baking. It helps to lay a silicone baking sheet over the top of the shinky dinks. This will prevent the shinky drinks from curling while cooking.
- Another option is to gently press down on them using the oven mitt once out of the oven. You can also lay something gently on them that is flat after baking. This should help to prevent them from curling.
- If you would like make a key chain, use a hole punch. Remember, that anything you create will shrink to about ⅓ of the original size.
- The kids can make key chains to give as gifts or to hang on their backpacks. There are tons of fun options. You can also make a necklace or any jewelry you like.
- Oven times vary. We baked at 325 degrees, but you may need to turn your oven to 350. Just make sure to have proper adult supervision.
- If you are printing a design, print on a mirror image so it’s on the shiny side.
- Place the baking sheet on the lowest oven rack.
- Don’t crowd the pan. You may have to do a second batch after the first batch.
Frequently Asked Questions
They will shrink significantly. Typically, they reduce to the amount of about ⅓ of the original size.
These are special plastic sheets that you need to make this craft with. Shrinky dink plastic is made out of polystyrene and can easily be cut with scissors to make your design.
You have to use a shrinky dink piece of plastic to create shrinky dinks. These plastic sheets work best as not all plastic shrinks. It is important to note that you can’t just use any clear plastic or recycled plastic.

Try More Fun Craft Projects
- Learn how to hydro dip
- how to make floam
- DIY Color Changing Nail Polish
- How to Make Color Changing Slime
- Salt Painting
Give these a try today using some of these awesome tips and tricks. You will love seeing the creativity in each child and all of the fun creations they make. Leave a comment and share what design you tried.
How to Make Shrinky Dinks
Equipment
- Shrinky dink material You definitely want to order this paper. We have tried other materials but the sheets definitely work the best.
- Sharpies We prefer sharpie brand but you can use any type of permanent marker or colored pencils for decorating.
- Scissors
Instructions
How to make shrinky dinks:
- Print out pictures to trace from your favorite sites or use cookie cutters to trace different designs. However, you can definitely create your own design as well. There are tons of free printable options online too.
- Then use sharpies to decorate your designs. We used fine tip and the regular markers for our design.
How to bake shrinky dinks:
- Cut out the items. Then place on a cookie sheet with the side that is colored up so that the color does not transfer to the baking sheet.
- Bake at 325 degrees fahrenheit for 3-10 minutes. The time will vary based on the size of your designs. Larger pieces will take a longer time to shrink. The plastic will shrink to about ⅓ of their original size once they are finished.
- Remove from the oven with an oven mitt.


