You can make this simple DIY Easter Egg Wreath very quickly and inexpensively. It’s a gorgeous way to decorate your home for Easter.

DIY Easter Egg Wreath Tutorial
I just love Easter Egg Crafts! This simple wreath is a fun way to spruce up your home. It’s so simple and uses many items that you can purchase from the dollar store.
We also love these Quick and Easy Easter Crafts for Kids. So many fun ideas for the family to do together.
Let’s get started making this fun wreath.
How do you make an Easter egg wreath?
It is very easy to make an Easter wreath. It starts with a wreath form and Easter grass is attached to cover it entirely.
Next, Easter eggs in pastel colors are glued to the wreath. It is so easy to make this DIY Wreath.
With only a few simple supplies, anyone can make this. It is so easy and turns out fabulous!

Tips for Easter egg wreath diy:
- Glue Gun. You will definitely need a glue gun and lots of glue sticks for this craft. I recommend having an extra bag of glue sticks.
- Wreath Form. We used a 12″ grapevine wreath but you can use whatever size you prefer. Just keep in mind if you use a larger wreath form that you will need to increase the amount of eggs.
- Plastic Eggs. We used 26 plastic Easter eggs for the 12″ size wreath.
- Filler. Make sure to fill in the gaps with lots of green crinkle shreds. You can use regular Easter grass but I think the paper shreds hold up better and don’t shed as bad. You can use other colors but I love the green!
- Protect the area. I find it really helpful to put down a piece of an old cardboard box or old tablecloth before doing this project. The grass can easily get scattered and this way I just fold it up and toss the cardboard.

Supplies Needed:
- 12″ grapevine wreath form
- 26 (or more) plastic Easter eggs
- hot glue and hot glue gun
- green shredded paper/bag filling
How to make Easter egg wreath with plastic eggs:
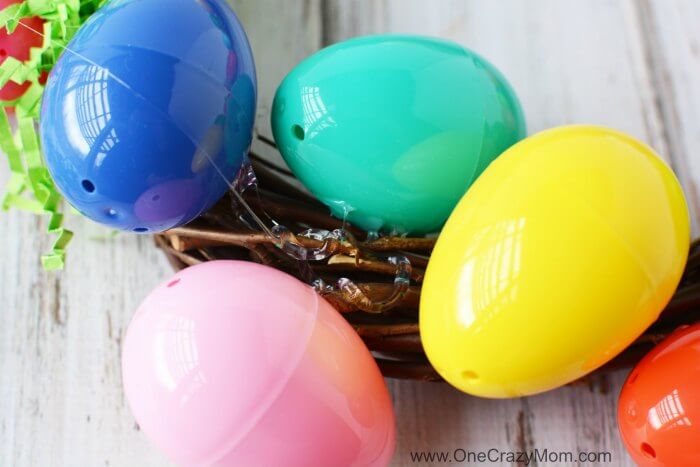
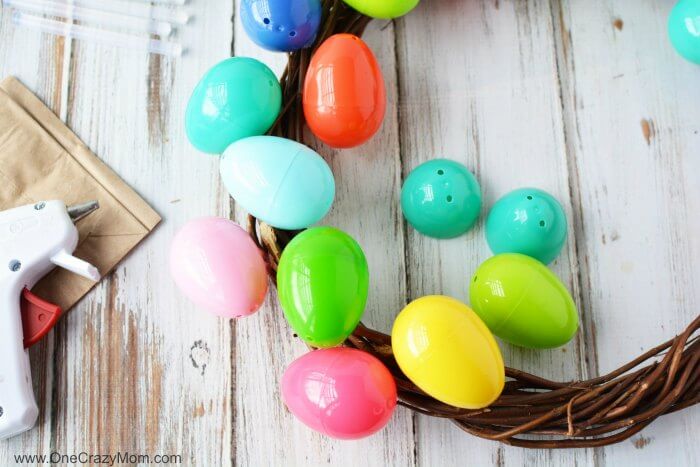
- Step 1. Use hot glue to add a generous amount of glue to the egg and gently press it into the wreath form.


- Step 2. Continue to add plastic eggs until the entire form is covered. Once wreath is covered with eggs, double check to make sure they are all secured tightly to the wreath form.
Gently tap each one and if one is loose, add additional hot glue.


- Step 3. In the vacant spaces on the wreath, add dollops of hot glue and press small handfuls of shredded paper into the glue. Don’t worry about making sure all of the paper sticks into the hot glue.


- Step 4. Continue to add paper shreds until the entire form is covered. Gently comb through the paper with your fingers making sure to remove any loose pieces.
We like to add finishing touches with glue and add paper to any spaces that you may have missed or that are lacking paper. Hang as desired on front door.
How to hang plastic easter egg wreath:
We use a wreath hanger to easily display these on the front door. I love this one because I can change it for each season or you can just pick up a plain one.

Variation Ideas
- Wreath Form. We used a grapevine wreath but you can substitute other forms. Some ideas include: Styrofoam, pool noodle or metal form.
- Bow. Make a bow using ribbon with Spring colors. Attach it to the wreath to make it even more festive.
- Ribbon. Intertwine ribbon in between the eggs.
- Colors of eggs. You can easily change the look of the wreath by using different colors of plastic eggs. You can use pastel colors, bright bold colors or even all one color.
- Filler. Substitute the green filler for any color you prefer. Easter grass comes in an assortment of colors. You can use pink, purple, yellow or a combination of colors.
DIY easter egg wreath is so festive.
This gorgeous wreath is so easy to make and really festive. It is the perfect decoration for your front door or anywhere in your home.
Let the kids help and everyone can have a blast making this together. This DIY is a great example of adorable decor that doesn’t have to cost a fortune. Plus, it is really a ton of fun to make.
Print this DIY Easter egg wreath:
Easter Egg Wreath
Equipment
- 12″ grapevine wreath form
- 26 (or more) plastic Easter eggs
- hot glue and hot glue gun
- green shredded paper/bag filling
Instructions
- Use hot glue to add a generous amount of glue to the egg and gently press it into the wreath form.
- Continue to add plastic eggs until the entire form is covered. Once wreath is covered with eggs, double check to make sure they are all stuck well onto the form.
- Gently tap each one and if one is loose, add additional hot glue.
- In the vacant spaces on the wreath, add dollops of hot glue and press small handfuls of shredded paper into the glue. Don’t worry about making sure all of the paper sticks into the hot glue. It won’t!
- Continue to add paper shreds until the entire form is covered. Gently comb through the paper with your fingers making sure to remove any loose pieces.
- Add glue and paper to any spaces that you m


