Save money and learn how to make an ice pack at home. With just a few easy steps and minimum supplies, anyone can make an ice pack.

How to make an ice pack
Today let’s talk about how to make an ice pack. You can easily make your own homemade one with baggies and your foodsaver.
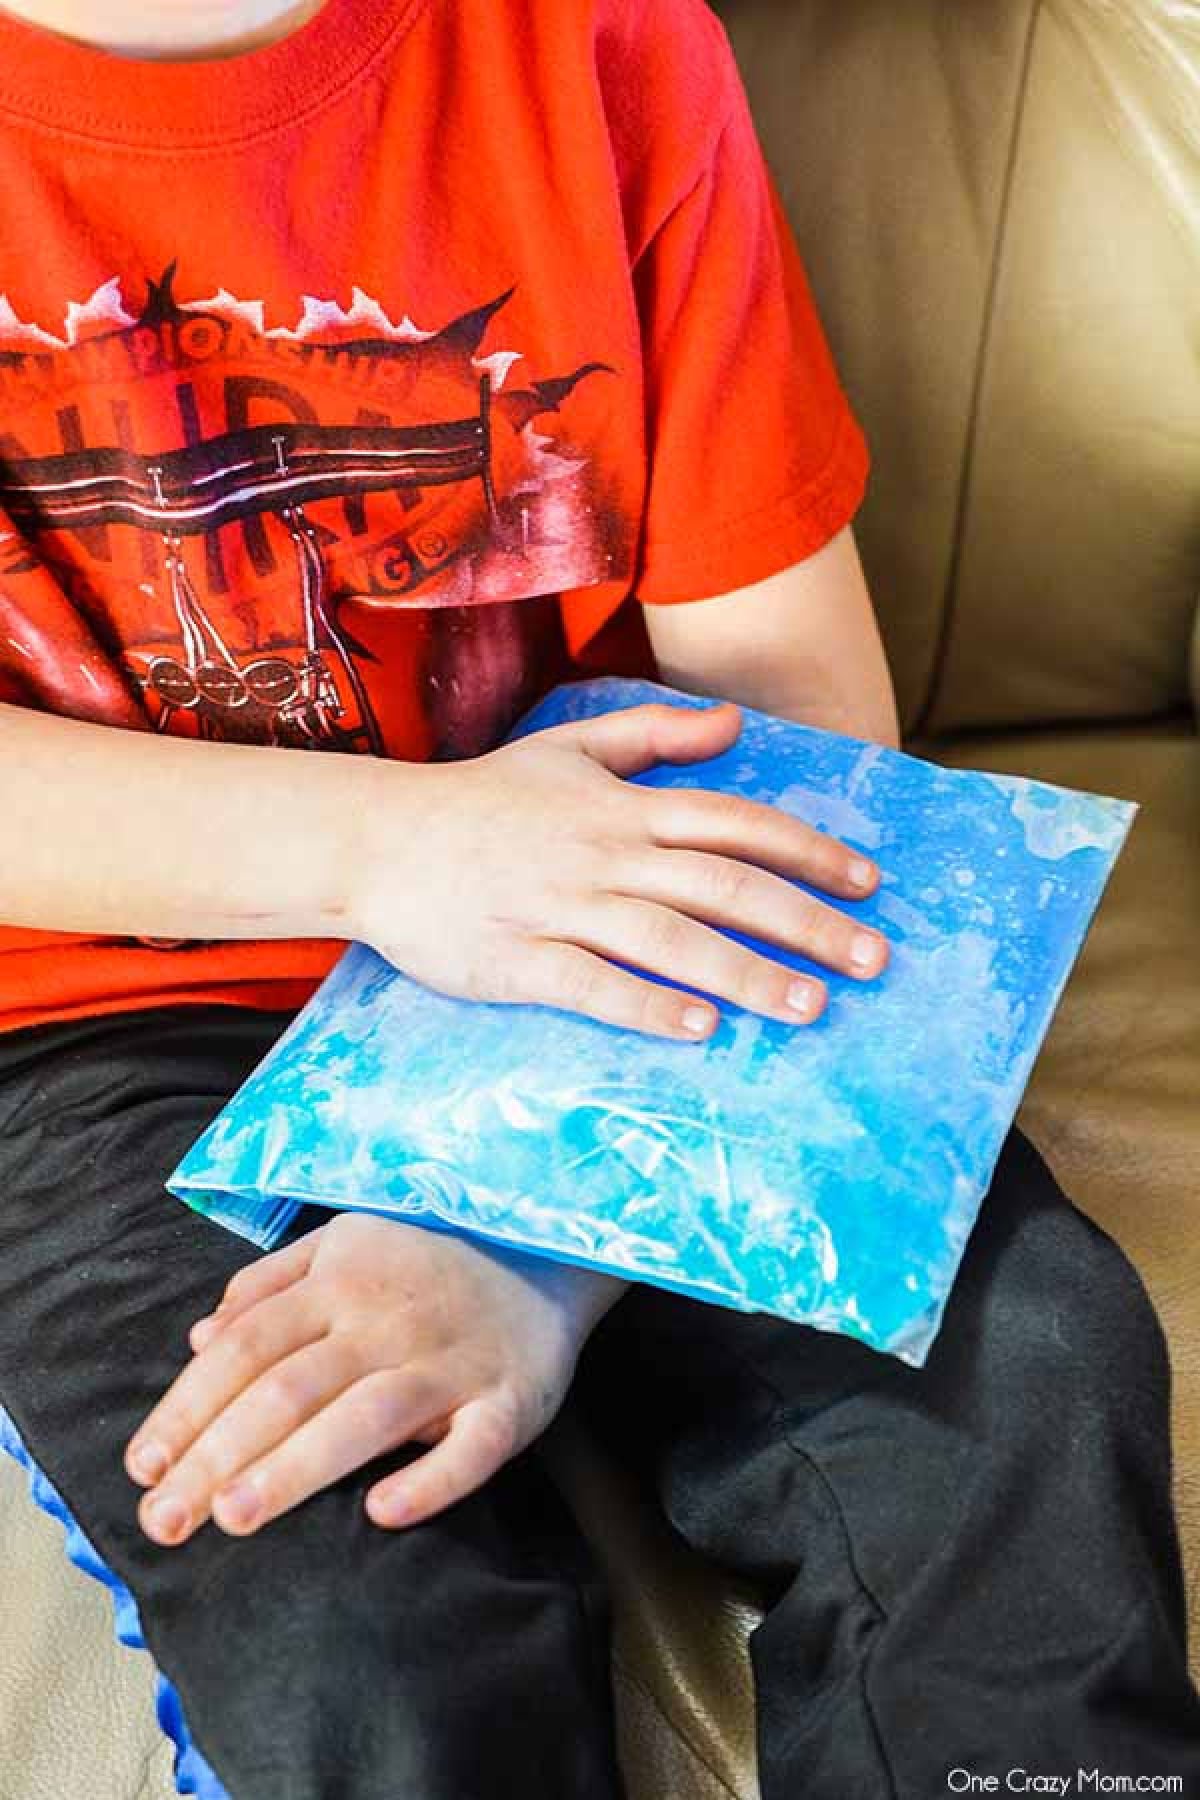
Your little one bumped his knee playing basketball/riding his bike/wrestling with his brother. Your little princess bonked her elbow twirling circles/turning cartwheels/jumping on the trampoline. What to do?
You look in the freezer for something to put on the boo-boo and you come up with 2 options – a bag of frozen peas or some ice cubes you can throw in a baggie.
We have the solution. An easy to make homemade version.
Homemade Ice Pack are easy to make.
I don’t know about your kids, but mine would not be satisfied with either option. If your kiddos are the same, why don’t you try this easy Homemade DIY. It works great.
How to make a homemade ice pack
With only a few ingredients such as water, rubbing alcohol and ziplock bags, you can make this. Mix together and put in the freezer.
It is that simple. Keep reading for the full instructions.
You will be amazed how fast and easy these are. Plus the kids Love making them with you.

Supplies you need
Most of the materials you need to complete this project are things you have at home. Here is all you need:
- Water
- Rubbing Alcohol
- Ziptop Baggies (quart size)
- Food Coloring
- Food Saver System
Why alcohol? The rubbing alcohol will prevent the water from freezing completely.
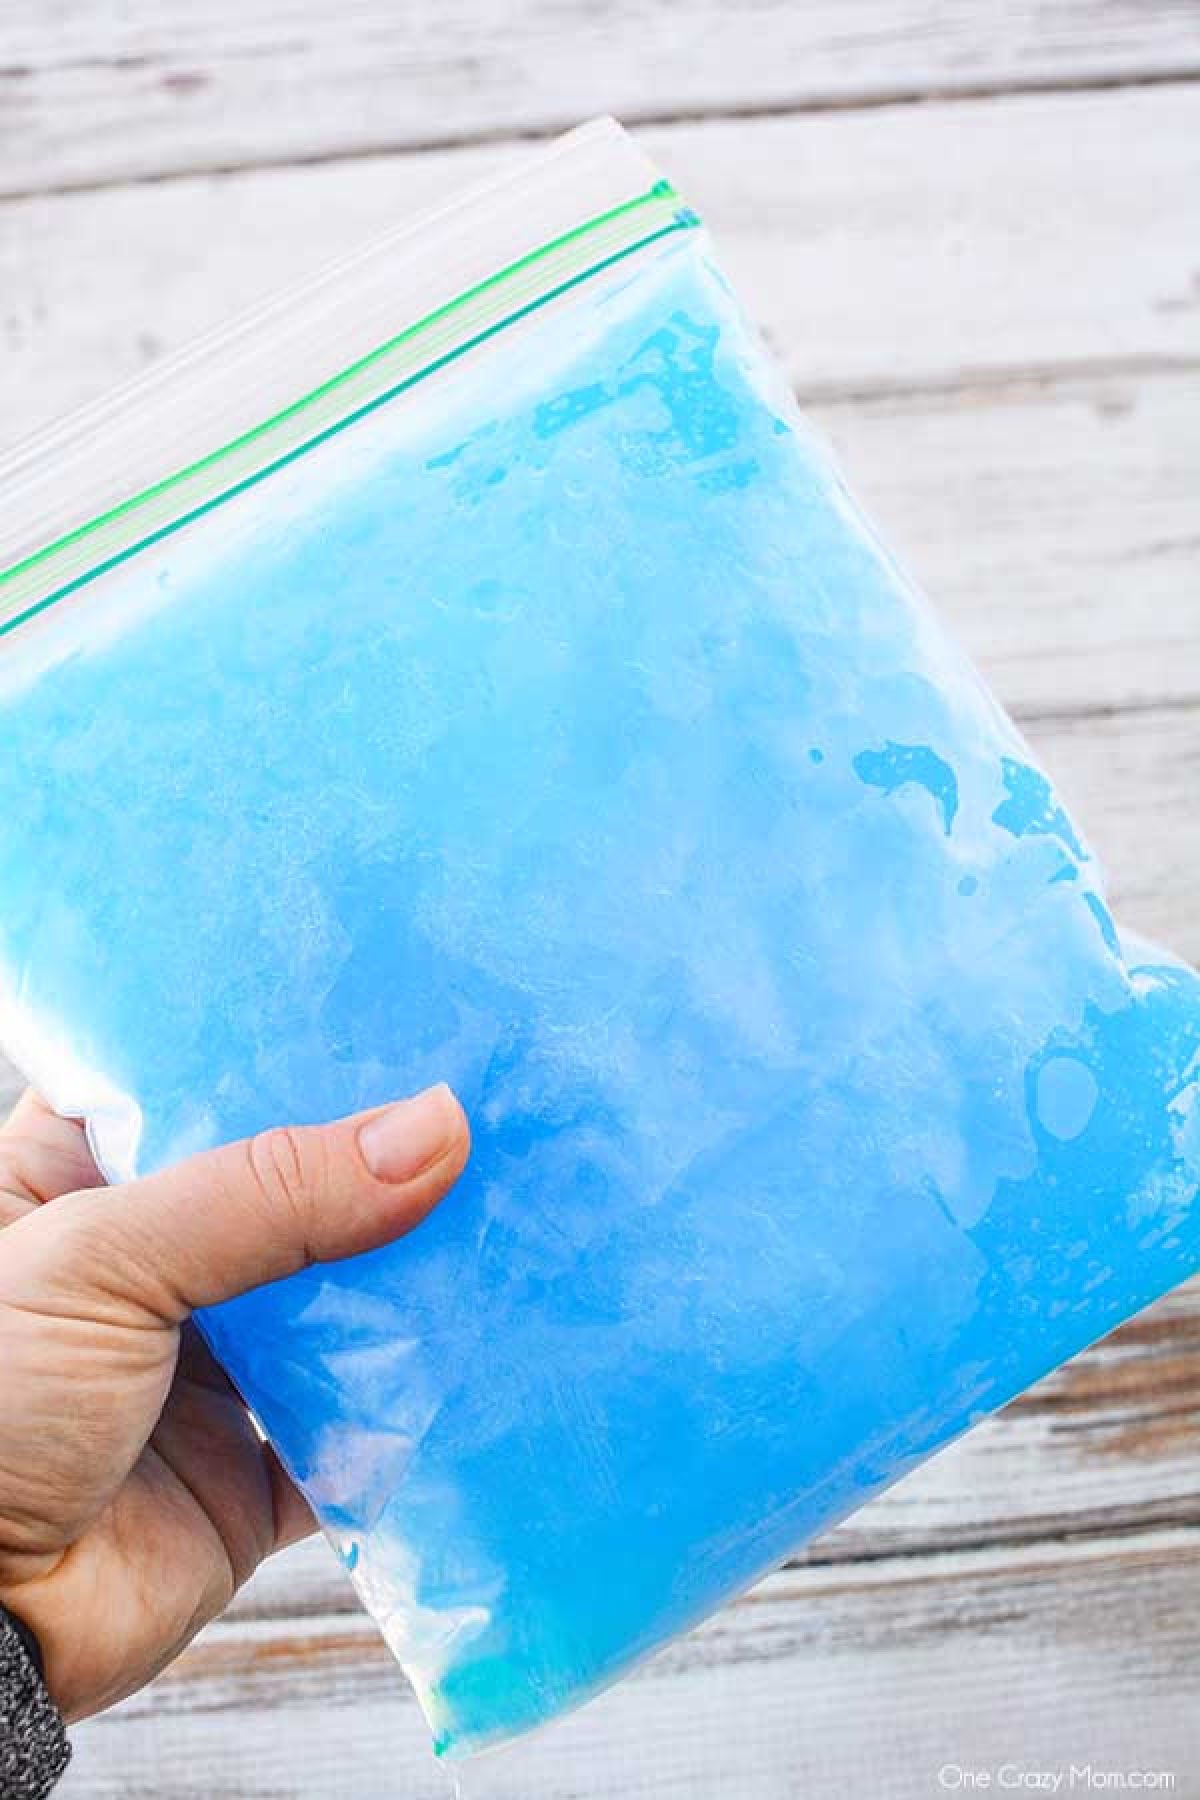
The contents will actually seem more like gel. The ‘gel’ will mold to the boo-boo instead of being hard like ice would be.
Option just for fun:
As an added little extra fun, I had my boys decorate their ice pack with Sharpie markers. I just had them draw whatever makes them smile.
So, when they are using their ice pack after a boo-boo they will look at it and smile. If you do this, be sure to do it on the ziptop bag before you fill it with anything.
It is much easier that way.

How to make an ice pack with rubbing alcohol:
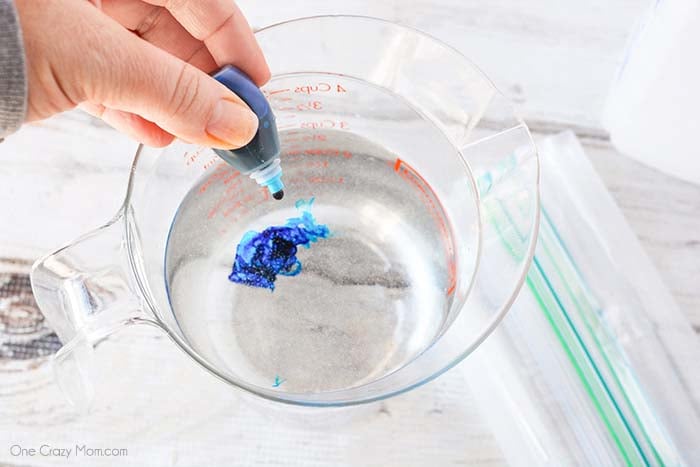
- First, in your baggie, add 2 cups of water with 1 cup of rubbing alcohol. Mix the water and alcohol together.

- Second, add about 5 drops of your chosen food coloring. This is totally optional but fun for the kids.

- If you have a name brand freezer bag, you can stick it straight in the freezer. If you have a generic baggie, I suggest you double bag it so you don’t have any leaks in the freezer.


- Now, I chose to ‘freeze’ my bags before I put them through the Food Saver just so my baggie contents would freeze solid.
- Once your ice pack is ‘frozen’, place it inside of a Food Saver bag and vacuum seal it. (Use your Food Saver instruction manual for specific directions on vacuum sealing items.) Wa-la! Your kiddie ice pack is done and ready for injured areas.

Food Saver
If you don’t have a Food Saver, I highly suggest you invest in one. Honestly, it took me a while before I was ready to put out a sum of money for a Food Saver.
However, I have gotten so much use out of mine I have never regretted the purchase.
If you don’t want to shell out the cash for a Food Saver, you can try other brands for less.
Just a tip. Amazon does mark the Food Savers down every now and then, so keep your eyes peeled for a good deal.

Now you know how to make an ice pack.
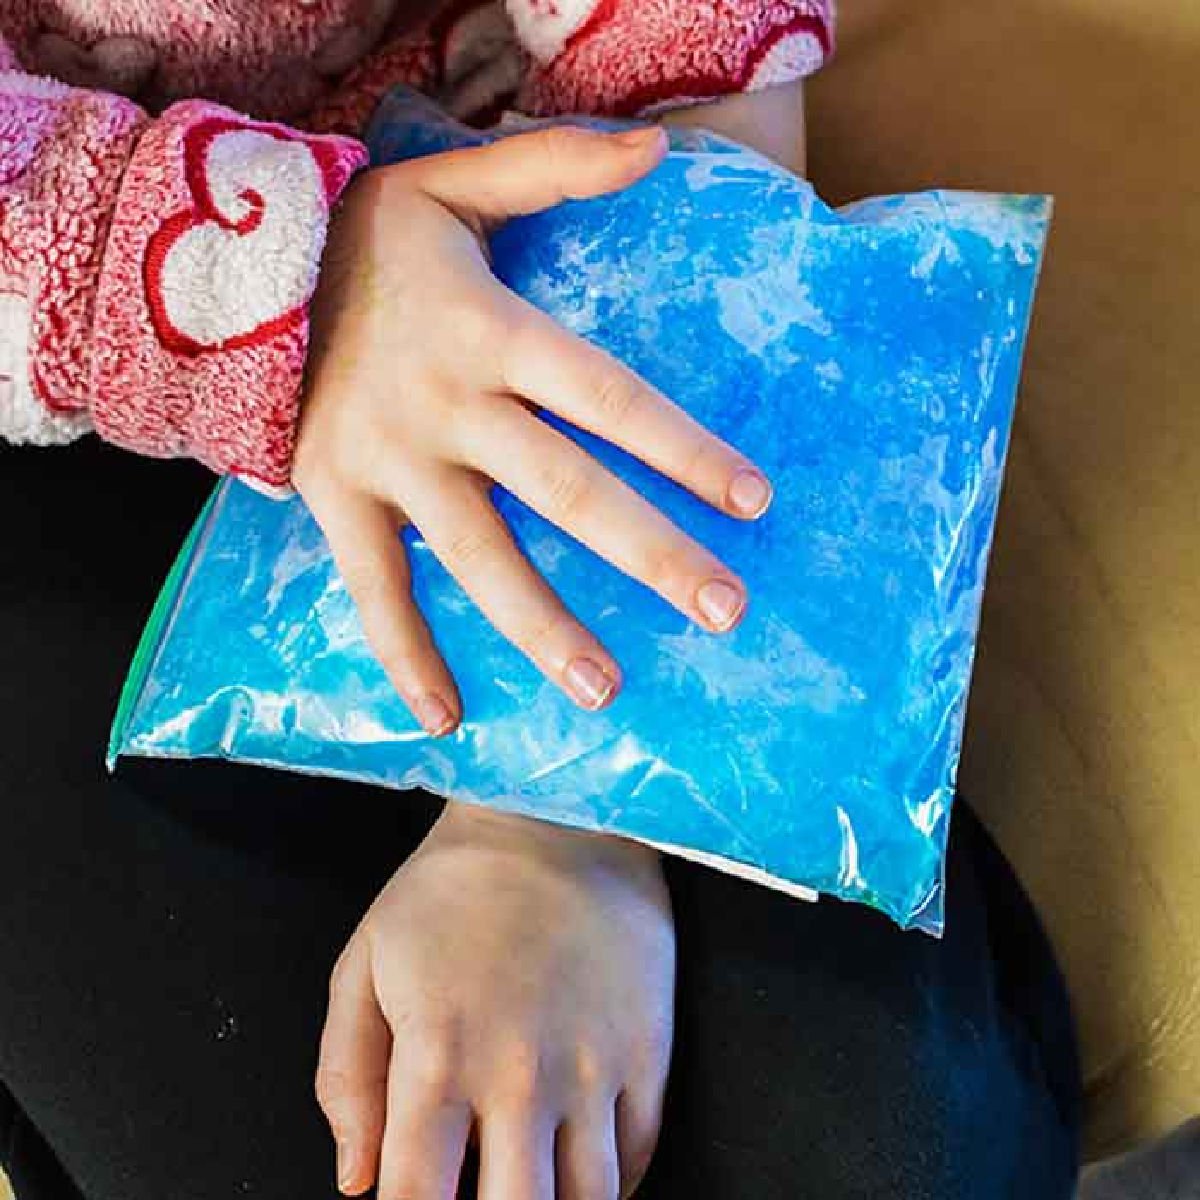
Your little one now has their very own boo-boo better bag (call it what you will)! I hope I never have to use mine, but with lots of kids in the house I’m not going to hold my breath.

Will You Make Your Own Ice Packs?
Please let us know how they turned out.
Please note this is for general purposes only. Seek medical advice from a medical professional.
Homemade Ice Pack
Equipment
- 2 Cups Water
- 1 Cup Rubbing Alcohol
- Quart Size Freezer Bags
- Food Coloring
- Food Saver System
Instructions
- In your baggie, mix 2 cups of cold water with 1 cup of rubbing alcohol.
- Then add about 5 drops of your chosen food coloring (optional).
- Then seal and place it in a second freezer bag to prevent it from leaking.
- Once your ice pack is frozen, place it inside of a Food Saver bag and vacuum seal it. (Use your Food Saver instruction manual for specific directions on vacuum sealing items.)
- Then your ice pack is done!


These are awesome! Love the addition of the food coloring – definitely beats the frozen bag of peas I pull out of the freezer as an improptu ice pack!
This is a great solution for an ice pack that is moldable! Thank you
Hello all these are great even for adults after surgery or any reason for Ice Packs but, I highly recommend zip lock bags that DO NOT have the thing that slides across to zip. Just cleaned up a huge mess!